

Accessories, Door Fitting, Guides
How to Fit Door Handles and Hinges
Jan
FItting Door Hinges
Fitting a door hinge is actually pretty straightforward, first, you need to choose whether you would like two or three hinges. You can then install them so that the door either opens to the left or the right. Usually, hinges are installed 10 inches from the bottom of the door and 5 inches from the top. If you’ve decided on three hinges the third hinge can be installed in the middle of the top and bottom hinge. It is vital that the measurements are exactly the same on the door and frame to get the correct alignment.
Once you have marked up where you want your hinges to be positioned you can trace the outline of the hinge and where the screws need to go. Next, you need to cut out where the hinge will go so it can be recessed in the door frame. A chisel and hammer should be used to cut out within the lines of the hinge. Once you’ve completed this step you need to check that the hinge fits correctly into the cut-out. The hinge is now ready to be screwed into place. Next, you need to make a cut out in the door before attaching the hinge and tightening the screws into place.
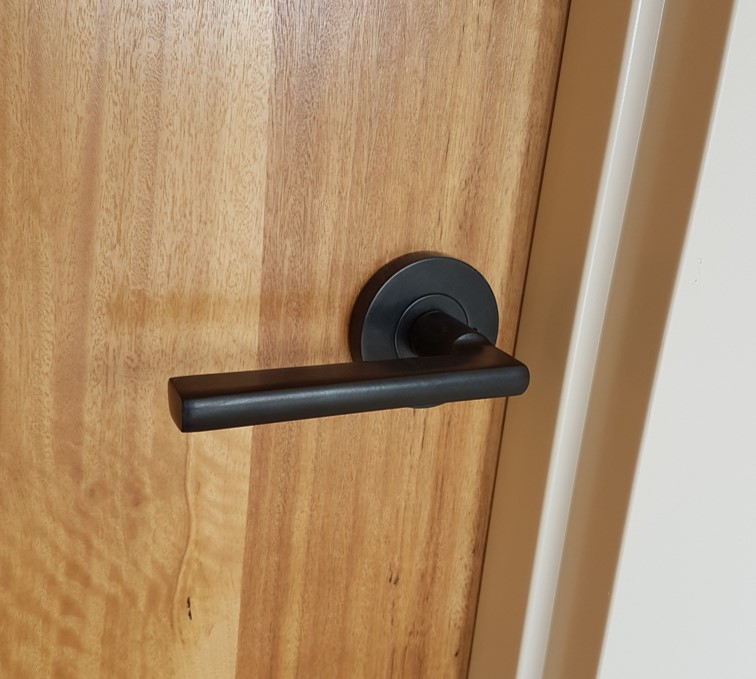
Fitting Door Handles
Step 1
Door handles are a relatively easy DIY project, the first step is to measure the height for the door handle. A standard height for a door handle is 1.05m, you can use this as your measurement or you can match the handle height to your other handles within the home. Once you have decided on the height you need to mark the door, a helpful tip is to use a wedge to stop the door from moving whilst our installing the handle. Using a template mark on where you have decided to put the height, you also need to mark where the drill holes will be on the front of the door and the side. This process needs to be repeated on the other side of the door to match.
Step 2
The next step is to start drilling, using the marks you made on the door and a small drill bit drill pilot holes in the front back and the side of the door making sure you don’t drill all the way through and cause the wood on the other side to splinter. A useful tip is to stand square to the door for accurate drilling. Now using a larger drill bit go over all the pilot holes to make them larger, without going through to the other side. A hole needs to be drilled for the spindle, the spindle is used to connect both handles together. Next, a drill hole for a barrel needs to be drilled in the side of the door. Being square to the door when drilling will allow you to drill at the correct angle.
The latch from the door handle needs to be placed in the hole you have just drilled for the barrel, you can then mark around the faceplate and where the screws need to be. Using something sharp you need to cut around the outline you have just made. A chisel and hammer should be used to cut out the hole for the latch so it becomes flush against the door. The latch can be then inserted into the side of the door and drilled into place with screws. The next job is installing the striker plate, this is where the latch clicks in when the door is shut. To mark where this needs to be placed you need to almost shut the door, you need to hold the plate so that the latch is in the centre and then mark the centre, top and bottom of the plate on the door frame.
A hole needs to be drilled where the centre of the striker plate is marked, the plate can then be held up against the door frame matching up the marks at the top and the bottom you made earlier. Draw around the entire plate and with a sharp instrument cut around the outline to be used as a guideline. Using a chisel and hammer, chisel out a recess for the striker plate to be placed and sit flush within the door frame. The striker plate is ready to be attached using two screws.
Step 3
Now to the handles, remove the faceplates from both the handles and insert the two grub screws that are provided with our door handles into the smaller holes you drilled earlier. The bolt that is also provided needs to be inserted into the larger hole, next you can put one of the faceplates on a handle, but don’t attach it without making sure the handle turns downwards. Insert a screw into one of the holes on the faceplate and carefully slip the handle over the barrel making sure the screw goes into the grub screw.
You can now attach the hand on the other side of the door, both grub screws on each side can now be tightened. The screws on the top and bottom of the handle can also be tightened fixing it in place in the door. The faceplates can now be snapped into place and there you have it new handles on your door. It’s always a good idea to check that the door does open and close correctly. Here at Moda doors, we offer hinge packs and door handles on their own or if you needing everything for you brand new doors we have packs that include hinges, door handles and latches together.